

Digital Ruggedised Night Vision Goggles (DRNGV) [2023]
The DRNVG was designed as a low cost test bed to explore the design theory behind digital night vision devices in terms of perceptual, ergonomics and functionality, building a basis for the future iteration of wearable digital night vision projects.
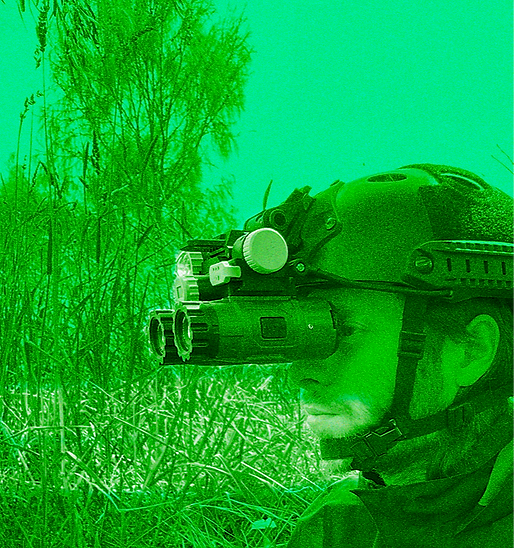
Night vision goggles are head-mounted devices that enable users to see in the dark
and are widely used in fields such as aviation, search and rescue, emergency response, and military operations.
Digital night vision systems typically use cameras paired with infrared spotlights, which are invisible to the naked eye, to illuminate the environment at night.
This project, undertaken in my advanced prototyping class, focused on developing an inexpensive night vision system for nighttime navigation, while also exploring improved ergonomics and form through advanced prototyping techniques.
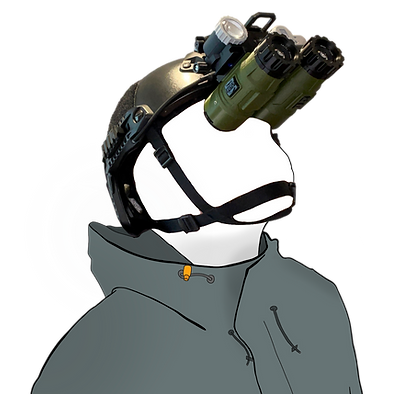
Lightweight and self Contained
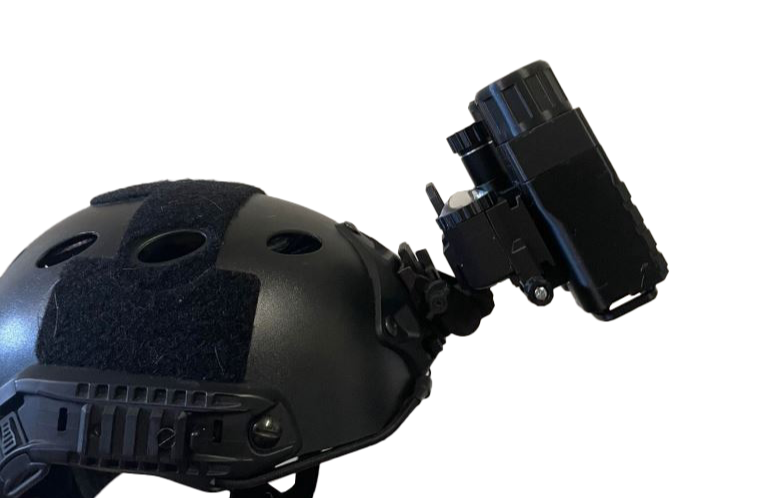
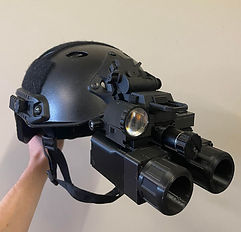
The DRNGV was designed to be as compact and lightweight as possible, meaning it could be easily attached to a standard night vision head mount and used for nocturnal navigation.


.png)
.png)
1: Built-In 18650 Battery
The DRNGV is powered by a single built in battery, rechargeable within the device, keeping the unit lightweight and self contained.
2: Rotary Switch Control
Independent controls for the camera/screen system and infrared illumination are incorporated into a single rotary switch, allowing for easy, singe handed control while the device is helmet mounted.
.png)
3: Helmet Mount
The DRNGV is mounted to the users helmet via a standard night vision mount for hands free use.

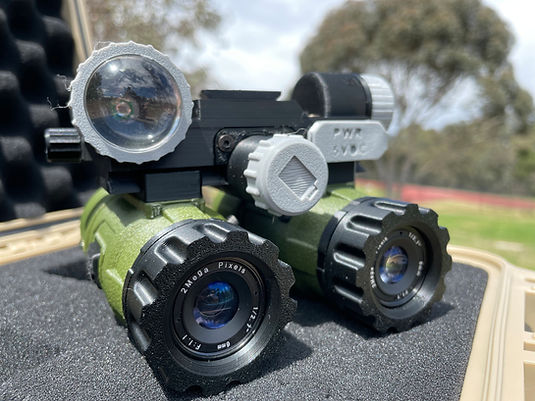
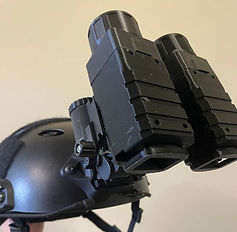
The DRNGV Night Vision Goggles Feature Binocular vision
allowing for depth perception and improved navigation over varied terrain at night. They perform effectively in ambient lit urban environments without the need for supplemental infrared illumination and excel in dark bush land when the infrared illumination is activated, providing clear visibility even in the darkest conditions.



Development and Prototyping
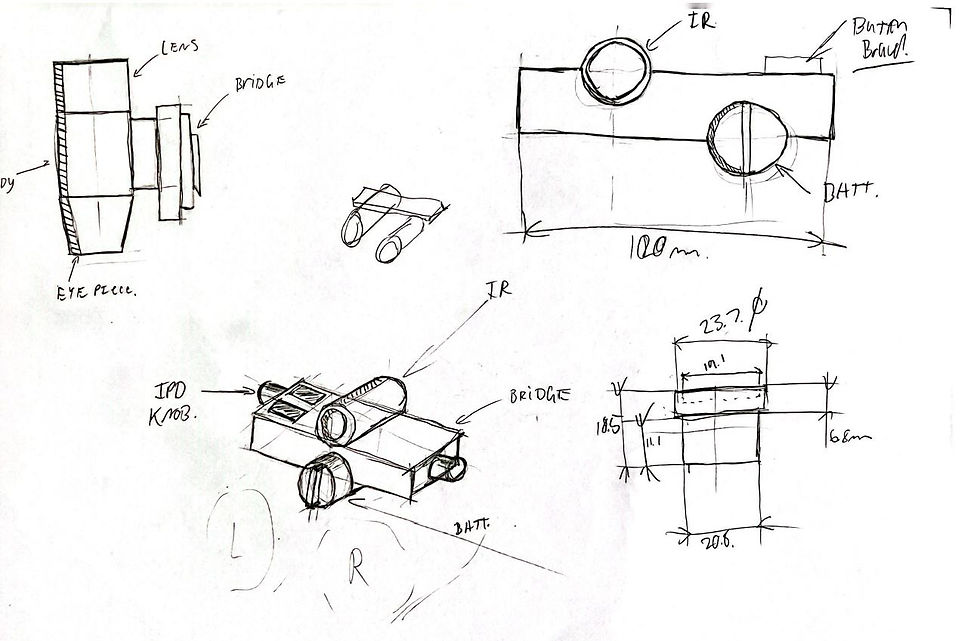
Ideation
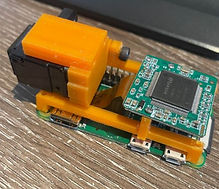
The first iteration of this prototype was designed around a Raspberry Pi microcontroller, connected to an IMX462 low-light camera sensor, with images displayed via composite video on a micro display.
Due to the tight one-semester timeframe, I streamlined my design processm transitioning directly from rough sketches to CAD models and rapid prototypes, rather than spending time on detailed sketching and idea development.
This approach led to a rugged, utilitarian aesthetic with unique ergonomic choices that naturally emerged from the process. A major goal of this project was to clearly demonstrate my ability to combine functionality, ergonomics, and electronics design, showcasing how I can balance these elements to create a practical, working prototype.



Building The First Prototype
Following on from the rapid ideation and CAD based design iteration, the first prototype is printed and assembled.
I wanted to put the device together as early as possible in the design process to validate the ergonomic, aesthetic and assembly choices I had made building the model in fusion.
Prototype testing
Although the ergonomics of the first prototype were a success, the electronics were not. There was not enough power in the single 18650 battery to power both raspberry pi's with the displays and cameras attached.
A new, lighter approach was needed.

The Second Iteration
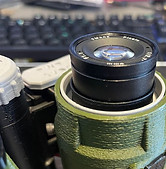
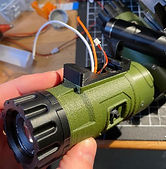
To address electronics failures in the first prototype, a second prototype was developed. Instead of using power-hungry Raspberry Pi microcontrollers, this approach utilized composite video-based drone cameras.
This change enabled a more compact form factor, enhancing flexibility in device aesthetics and design while reducing power requirements.


Building the Second Prototype
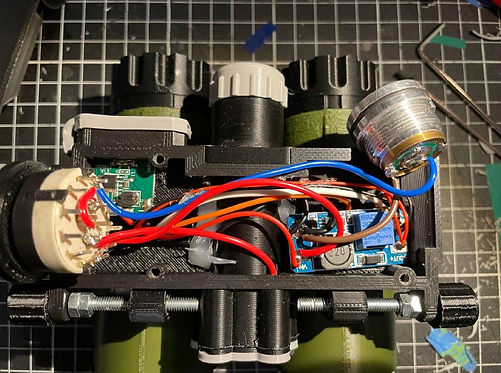
following on from the iterative design process, the second prototype is fabricated.

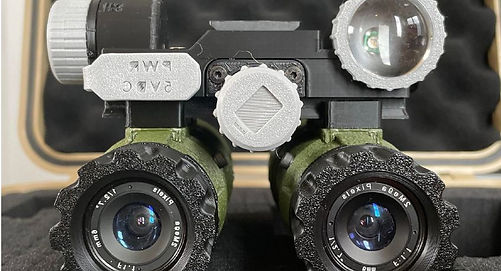
Outcome and Future Development
Overall, I am very pleased with the project's outcome. Ergonomically, the device integrates seamlessly with a standard night vision mount and helmet.
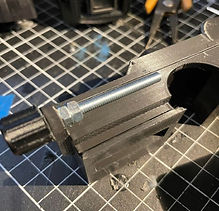
However, from a manufacturing perspective, the assembly is not as refined as I would like. I prefer building in repeatability into my projects, often sharing designs and CAD files digitally for others to use. This design required fabricating a tubular battery holder and lacked internal mounts for electronic components, which were secured with hot glue or other simple methods.
In future iterations, I aim to address these issues and enhance the system’s environmental resistance, including making the device somewhat waterproof and ruggedizing it for field use.
